Here's a quick how-to on getting your slack bot set up so you can use it with lambdabot!
-
navigate to https://api.slack.com/ and click "start building" 
-
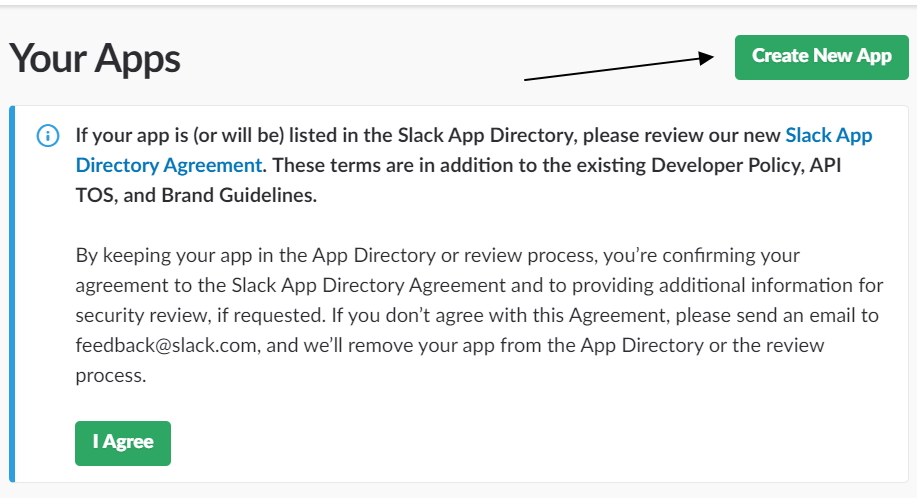
click "Create New App" in the upper right
-
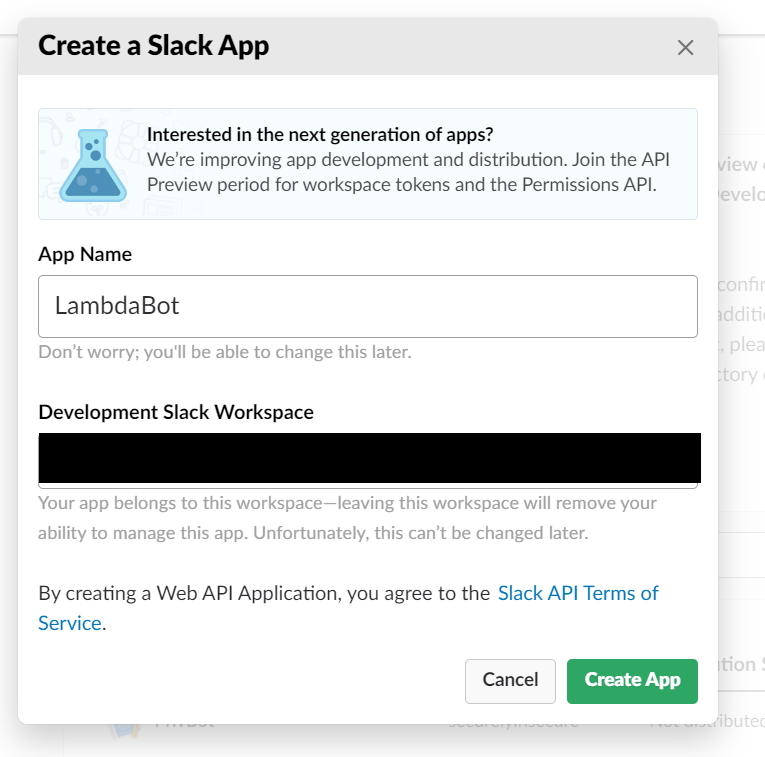
Name your app and choose your workspace...
-
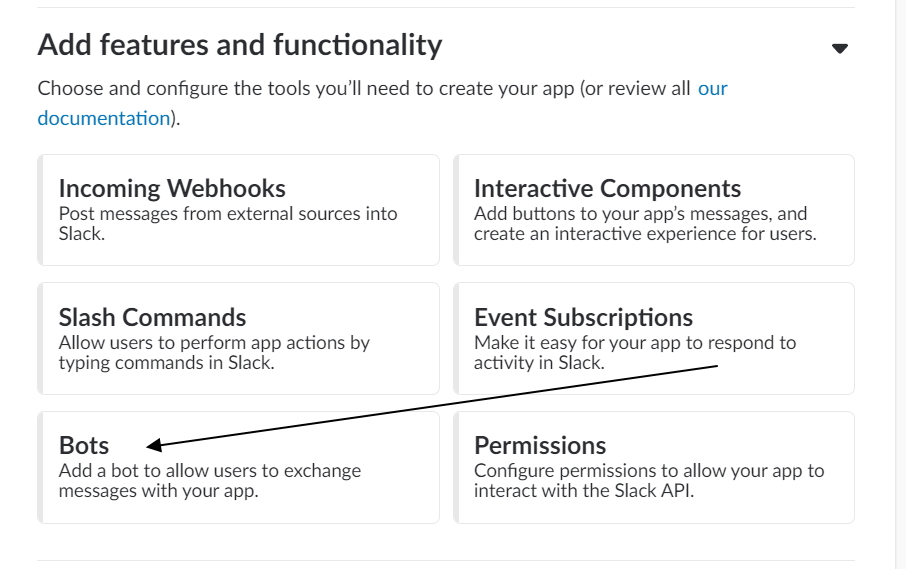
Now give your app permisison to be a bot!
-
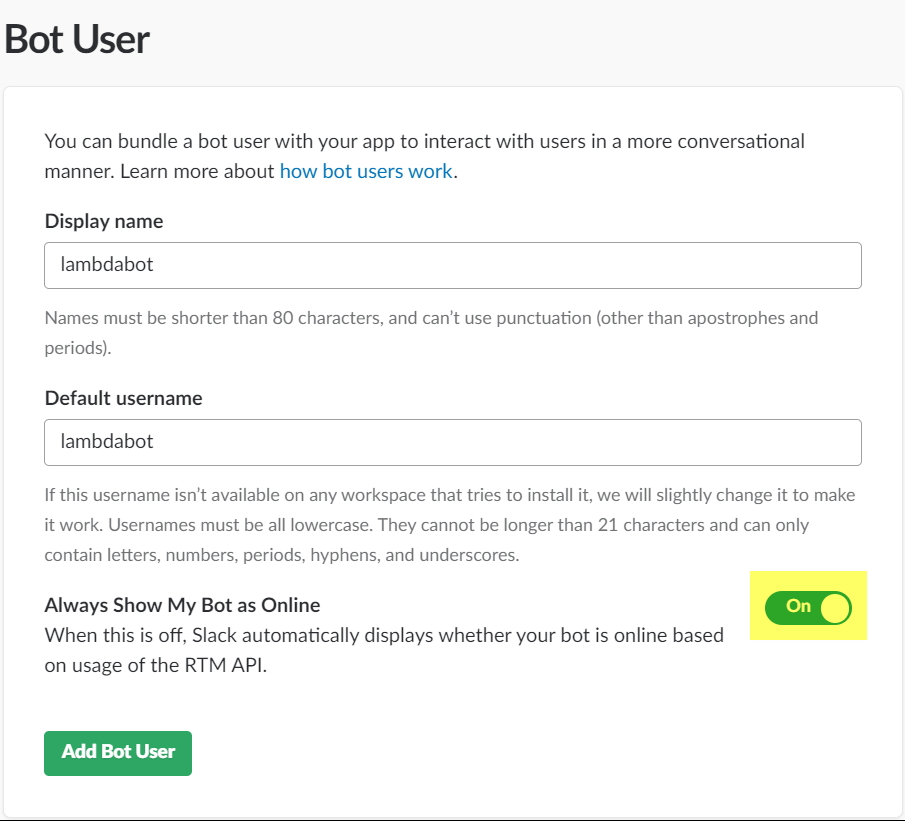
Give your bot a username and display name. Toggle your bot to always appear online
-
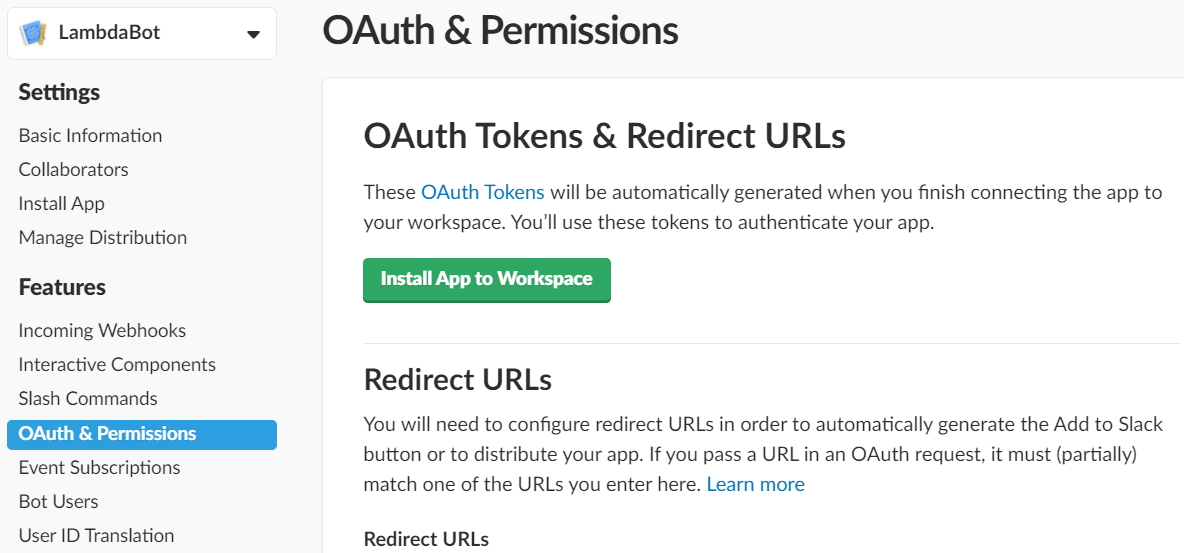
Now its time to install our app and give it permissions. Select OAuth & Permissions from the left column, then hit "Install App to Workspace"
-
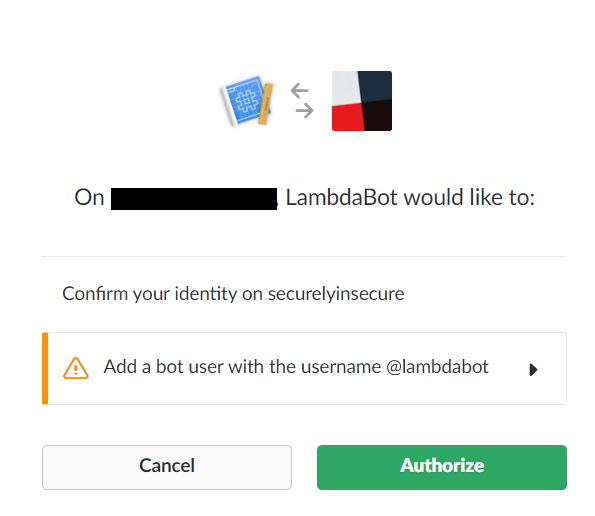
Follow the prompts and authorize your bot...
-
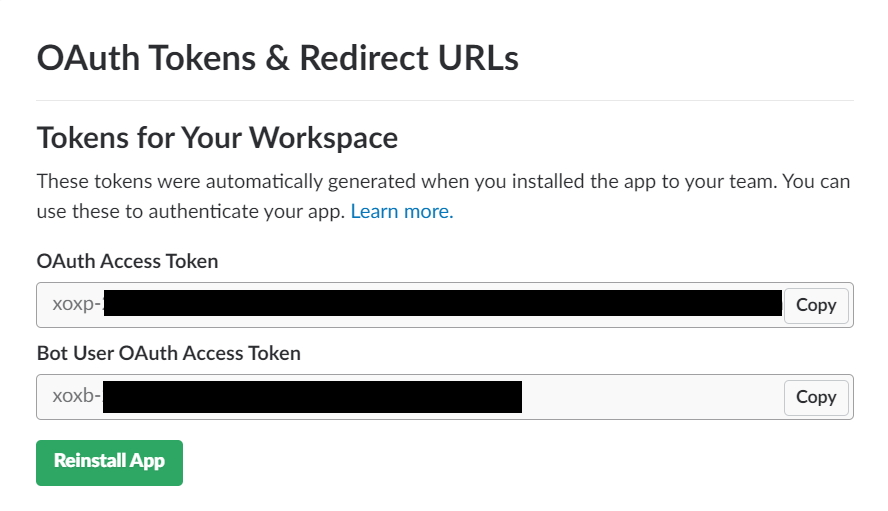
Once this is complete, you'll have the ability to view and copy your access tokens. You'll need these later
-
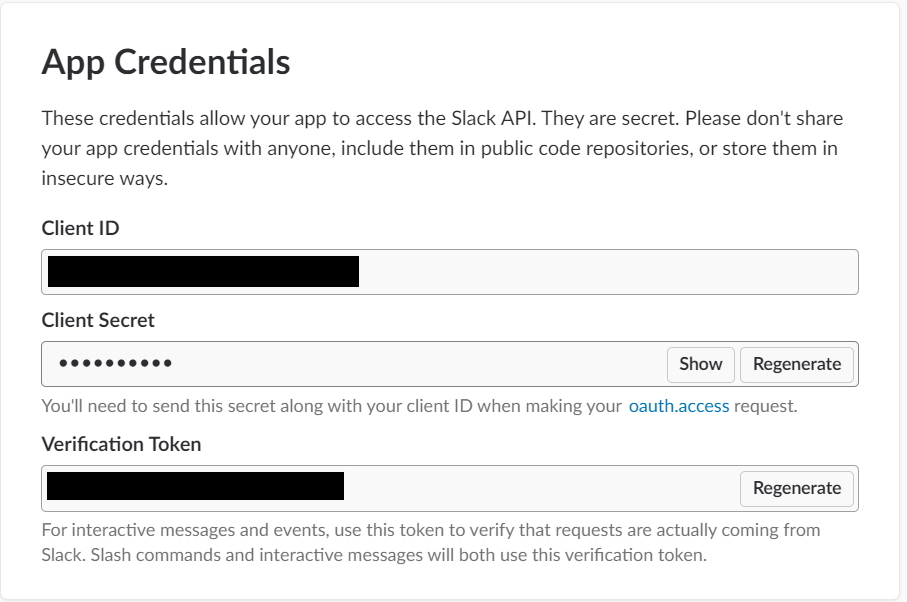
Navigate to your bots "basic" information on the left and scroll down to "App Credentials". Make note of the verification token
-
Now its time to run the code in the repo and get your aws infra all set up. Once that's done, you'll recieve an output URL for the last step.
-
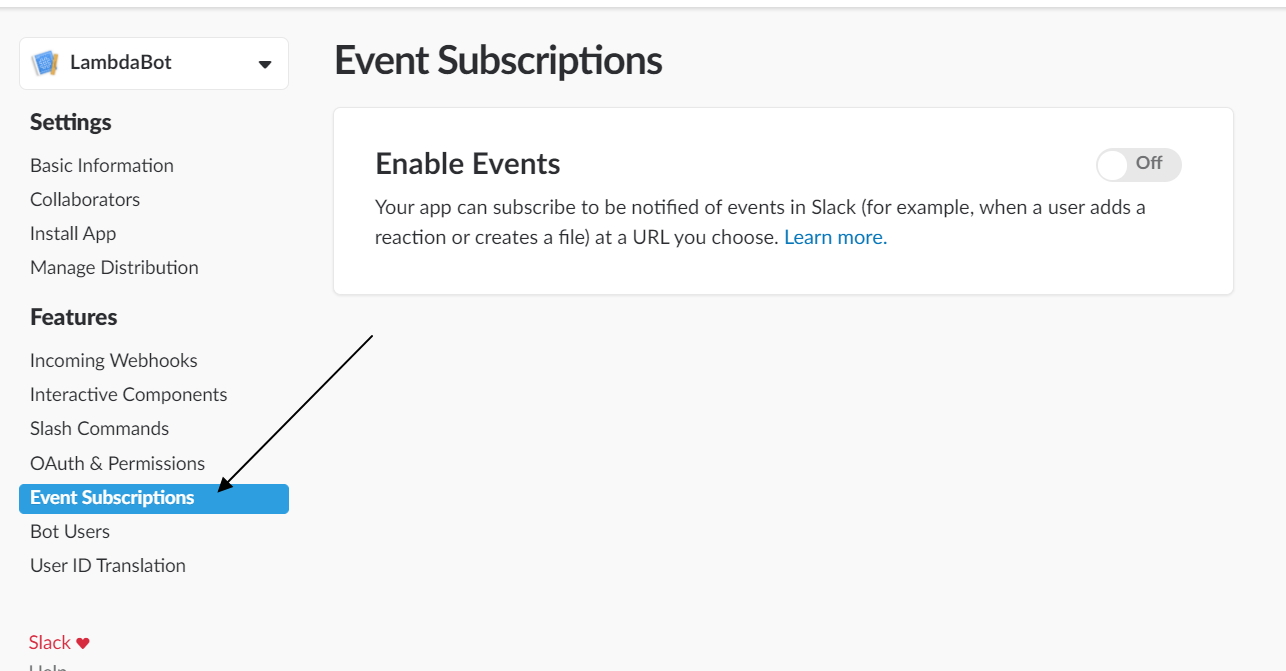
Navigate back to "Event Subscriptions" on the left side.
-
Enable event subscriptions for your bot. Note that right now you won't have a url to put into the url text field. That's ok.
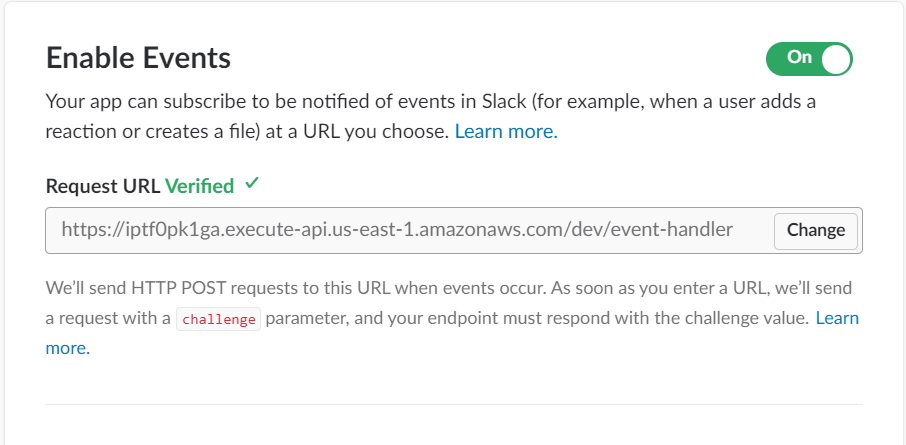
Paste your URL into the text field and tab out of the field. The slack API will attempt to
automatically connect to your API Gateway and verify your bot. If all went well, you'll get a nice
green "verified"
-
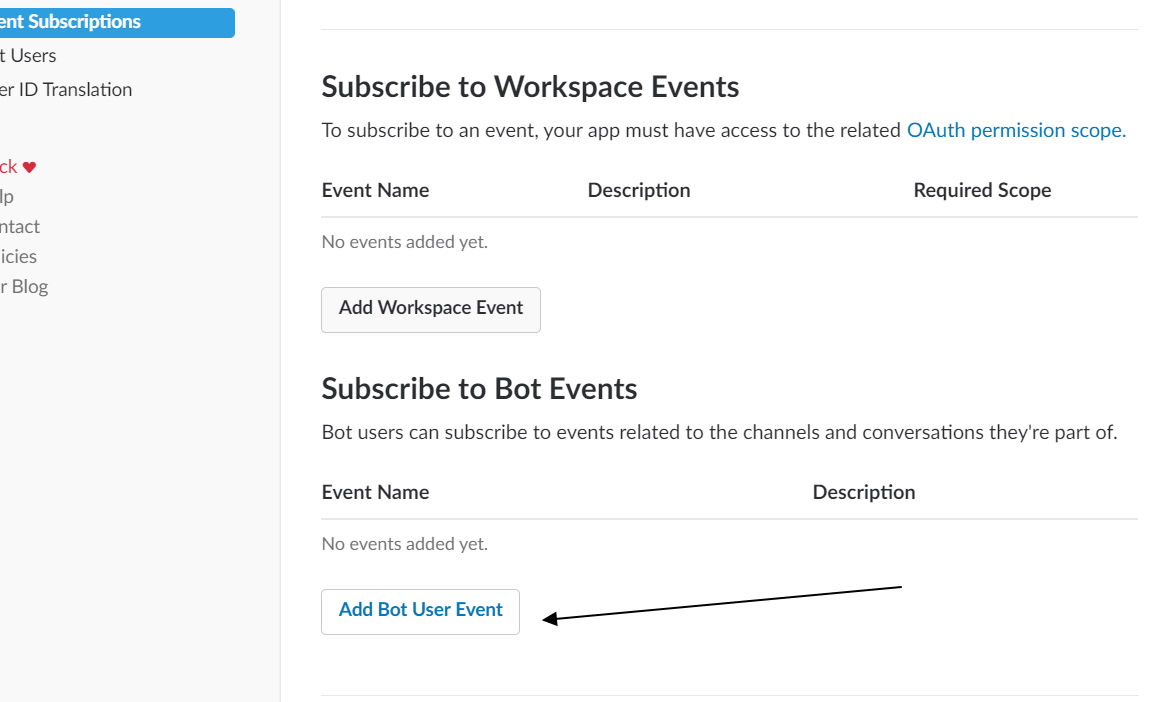
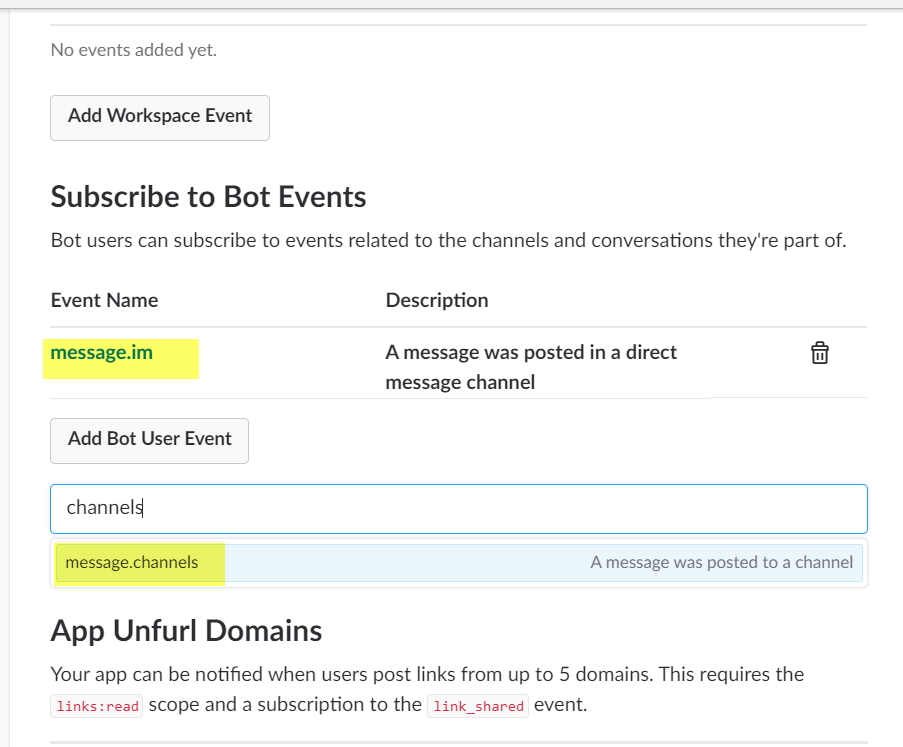
Bot events are events that will be sent to your bot to be evaluated and acted upon. We'll add channels and direct message to allow our bot to respond to both. Make sure to hit SAVE when you're done!
-
Now find your bot in slack and send it the message 'test'!
